This post may contain affiliate links. This means that if you make a purchase from those links I receive a commission at no additional cost to you. Thank you for continued support!
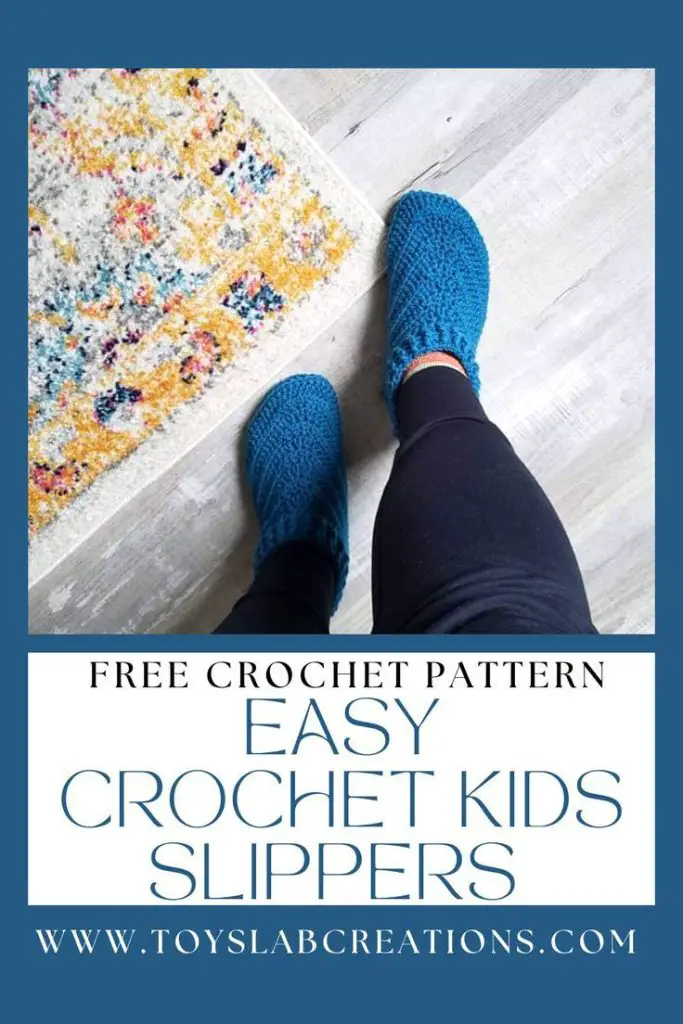
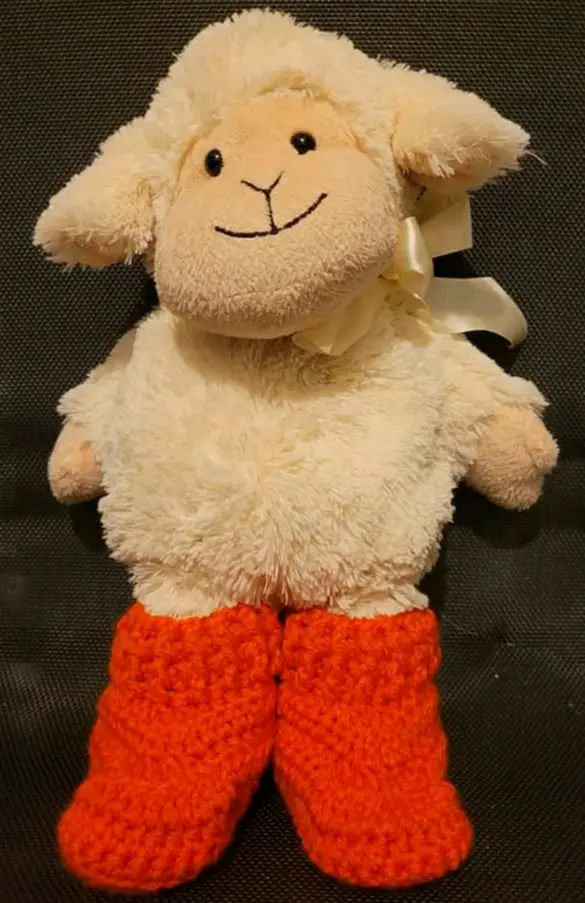
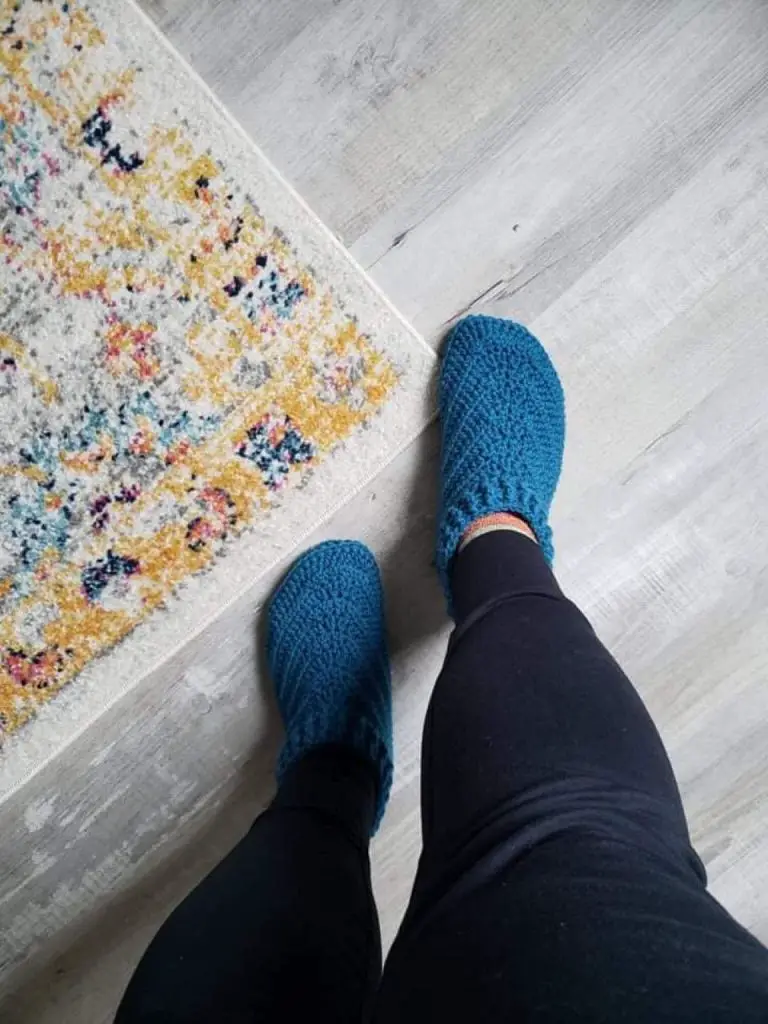
Looking for a easy crochet slippers to keep your kids feed warm? Look no further, this super easy crochet kids slippers is the answer. This adorable crochet kids slippers pattern is worked in rows, it works up pretty fast and you can be sure your crochet slippers will turn out the same size.
DESIGN
This easy crochet kids slipper pattern is the easiest crochet slipper pattern ever. It starts at the sole which is made in rows, then the upper part of the shoe and the the ribbed part. The seam is sewn and our crochet kids slippers is done.
FAST AND EASY
This adorable crochet kids slipper pattern isn’t just easy to make, it works up in no time. It uses simple crochet stitches such as single crochet and half double crochet. . It is a perfect crochet slippers pattern for crochet beginners.
YARN
I used worsted weight yarn for this easy crochet kids slipper pattern, you can use any worsted weight yarn of your choice, either solid color or self striping yarn.
SIZES
This easy crochet kids slipper pattern has seven sizing options 5.0 (5.5,6.0,6.5,7.0,7.5,8.0) which includes toddlers and kids sizes and it also contains photo tutorial.This blog post contains instructions for sole size 7.0 inches, which fits 5-6 years old kids.
Read on to find the free crochet pattern for size 7 inches sole below or find the ad-free printable pdf version on Ravelry, Love Crafts, Ko-fi and Etsy.
If you prefer to work with UK terms please scroll further down the page to view the UK version
Video Tutorial
If you prefer video tutorials, you can watch the video tutorial for the crochet baby booties version above.
Also watch more crochet video tutorials of my patterns on my YouTube channel. Subscribe and turn on notifications so you won’t miss any of my future videos. Happy crocheting!
PDF PATTERN
If you prefer to work offline or if you would like to support my work or you want to make the pattern in bigger sizes, purchase the ad-free printable pdf version, including all photo tutorials on Ravelry, LoveCrafts, Ko-fi and Etsy.
Purchase the Ad-Free PDF below
PIN it for later here

Save this pattern to your Ravelry favourites here
Check Out These Other Free Crochet Patterns
Crochet Slippers For Kids | Free Pattern
Materials:
4.0 mm crochet hook
Worsted weight yarn – 100g
Stitch markers (Optional)
Yarn needle
Difficulty:
Beginner
Gauge:
16 stitches /8 rows= 10 cm/4 inch square in Dc
Stitches (US Version):
Ch: Chain
Sc: Single Crochet
Hdc: Half double crochet
Dc: Double crochet
Dc2tog: Double crochet two together
Slst: Slip stitch
BLO: Back loops only
Pattern Notes:
- Ch 1 or Ch 2 at the beginning of the row does not count as a stitch.
- The slipper is worked flat.
- The 6th row is used to determine the right side when sewing the slipper. The side with the visible ridges is the right side.
Pattern Instructions:
Ch 41
Row 1:1 Sc in the 2nd chain from the hook, Mark the stitch with a stitch marker, 1 Sc in each stitch across. 40 stitches.
Row 2: Ch 1, turn. 2 Sc in the 1st stitch, mark the very first stitch, 1 Sc in the next 16 stitches, 2 Sc in each of the next 6 stitches, 1 Sc in the next 16 stitches, 2 Sc in the last stitch. 48 stitches.
Row 3: Ch 1, turn. 2 Sc in the 1st stitch, mark the very first stitch, 1 Sc in the next 20 stitches, 2 Sc in each of the next 6 stitches, 1 Sc in the next 20 stitches, 2 Sc in the last stitch. 56 stitches.
Row 4: Ch 1, turn. 2 Sc in the 1st stitch, mark the very first stitch, 1 Sc in the next 9 stitches, 1 Hdc in the next 8 stitches, 1 Dc in the next 7 stitches, 2 Dc in each of the next 6 stitches, 1 Dc in the next 7 stitches, 1 Hdc in the next 8 stitches, 1 Sc in the next 9 stitches, 2 Sc in the last stitch. 64 stitches.
Row 5: Ch 1, turn. 2 Sc in the 1st stitch, mark the very first stitch, 1 Sc in the next 10 stitches, 1 Hdc in the next 11 stitches, 1 Dc in the next 20 stitches, 1 Hdc in the next 11 stitches, 1 Sc in the next 10 stitches, 2 Sc in the last stitch. 66 stitches.
Row 6: Ch 1, turn. 1 Sc in the front loop only of the 1st stitches, mark stitch, 1 SC in the front loops only in each stitch across. 66 stitches.
Row 7:Ch 2, turn.1 Hdc in the 1st stitch, mark stitch, 1 Hdc in each stitch across 66 stitches.
Row 8: Ch 1, turn. 1 Sc in the 1st stitch, mark stitch, 1 Sc in the next 16 stitches, 1 Hdc in the next 10 stitches, Dc2tog 6 times, 1 Hdc in the next 10 stitches, 1 Sc in the last 17 stitches. 60 stitches.
Row 9: Ch 1, turn. 1 Sc in the 1st stitch, mark stitch, 1 Sc in the next 13 stitches, 1 Hdc in the next 10 stitches, Dc2tog 6 times, 1 Hdc in the next 10 stitches, 1 Sc in the last 14 stitches. 54 stitches.
Row 10: Ch 1, turn. 1 Sc in the 1st stitch, mark stitch, 1 Sc in the next 11 stitches, 1 Hdc in the next 9 stitches, Dc2tog 6 times, 1 Hdc in the next 9 stitches, 1 Sc in the last 12 stitches. 48 stitches.
Row 11: Ch 1, turn. 1 Sc in the 1st stitch, mark stitch, 1 Sc in the next 10 stitches, 1 Hdc in the next 9 stitches, Dc2tog 4 times, 1 Hdc in the next 9 stitches, 1 Sc in the last 11 stitches. 44 stitches.
Row 12: Ch 1, turn. 1 Sc in the 1st stitch, mark stitch, 1 Sc in the next 10 stitches, 1 Hdc in the next stitches 7, Dc2tog 4 times, 1 Hdc in the next 7 stitches, 1 Sc in the last 11 stitches. 40 stitches.
Row 13: Ch 1, turn. 1 Sc in the 1st stitch, mark stitch, 1 Sc in the next 9 stitches, 1 Hdc in the next 6 stitches, Dc2tog 4 times, 1 Hdc in the next 6 stitches, 1 Sc in the last 10 stitches. 36 stitches.
Row 14: Ch 1, turn. 1 Sc in the 1st stitch, mark stitch, 1 Sc in the next 8 stitches, 1 Hdc in the next 5 stitches, Dc2tog 4 times, 1 Hdc in the next 5 stitches, 1 Sc in the last 9 stitches. 32 stitches.
Row 15: Ch 2 , turn. 1 Hdc in the 1st stitches, mark stitch, 1 Hdc in each stitch across. 32 stitches.
Row 16: Ch 2, FPDC around the 1st Hdc of previous row, BPDC around the next stitch *FPDC around next stitch, BPDC around next stitch*. Repeat across row. End with BPDC. 32 stitches
Row 17-18: Repeat row 16. Ch 1, leave a long tail and cut yarn.
FINISHING
With right sides facing, Sew up seam from the top of the slippers down to the sole and weave in ends.
FINISHED SLIPPERS

UK VERSION
Crochet Slippers For Kids | Free Pattern
Materials:
4.0 mm crochet hook
Worsted weight yarn – 100g
Stitch markers (Optional)
Yarn needle
Difficulty:
Beginner
Gauge:
16 stitches /8 rows= 10 cm/4 inch square in Tr
Stitches (UK Version):
Ch: Chain
Dc: Double Crochet
Htr: Half treble crochet
Tr: Treble crochet
Tr2tog: Treble crochet two together
FPTr: Front post treble crochet
BPTr: Back post treble crochet
Pattern Notes:
- Ch 1 or Ch 2 at the beginning of the row does not count as a stitch.
- The slipper is worked flat.
- The 6th row is used to determine the right side when sewing the slipper. The side with the visible ridges is the right side.
Pattern Instructions:
Ch 41
Row 1:1 Dc in the 2nd chain from the hook, Mark the stitch with a stitch marker, 1 Dc in each stitch across. 40 stitches.
Row 2: Ch 1, turn. 2 Dc in the 1st stitch, mark the very first stitch, 1 Dc in the next 16 stitches, 2 Dc in each of the next 6 stitches, 1 Dc in the next 16 stitches, 2 Dc in the last stitch. 48 stitches.
Row 3: Ch 1, turn. 2 Dc in the 1st stitch, mark the very first stitch, 1 Dc in the next 20 stitches, 2 Dc in each of the next 6 stitches, 1 Dc in the next 20 stitches, 2 Dc in the last stitch. 56 stitches.
Row 4: Ch 1, turn. 2 Dc in the 1st stitch, mark the very first stitch, 1 Dc in the next 9 stitches, 1 Htr in the next 9 stitches, 1 Tr in the next 7 stitches, 2 Tr in each of the next 6 stitches, 1 Tr in the next 7 stitches, 1 Htr in the next 8 stitches, 1 Dc in the next 9 stitches, 2 Dc in the last stitch. 64 stitches.
Row 5: Ch 1, turn. 2 Dc in the 1st stitch, mark the very first stitch, 1 Dc in the next 10 stitches, 1 Htr in the next 11 stitches, 1 Tr in the next 20 stitches, 1 Htr in the next 11 stitches, 1 Dc in the next 10 stitches, 2 Dc in the last stitch. 66 stitches.
Row 6: Ch 1, turn. 1 Dc in the front loop only of the 1st stitch, mark stitch, 1 Dc in the front loops only in each stitch across. 66 stitches.
Row 7:Ch 2, turn.1 Htr in the 1st stitch, mark stitch, 1 Htr in each stitch across 66 stitches.
Row 8: Ch 1, turn. 1 Dc in the 1st stitch, mark stitch, 1 Dc in the next 16 stitches, 1 Htr in the next 10 stitches, Tr2tog 6 times, 1 Htr in the next 10 stitches, 1 Dc in the last 17 stitches. 60 stitches.
Row 9: Ch 1, turn. 1 Dc in the 1st stitch, mark stitch, 1 Dc in the next 13 stitches, 1 Htr in the next 10 stitches, Tr2tog 6 times, 1 Htr in the next 10 stitches, 1 Dc in the last 14 stitches. 54 stitches.
Row 10: Ch 1, turn. 1 Dc in the 1st stitch, mark stitch, 1 Dc in the next 11 stitches, 1 Htr in the next 9 stitches, Tr2tog 6 times, 1 Htr in the next 9 stitches, 1 Dc in the last 12 stitches. 48 stitches.
Row 11: Ch 1, turn. 1 Dc in the 1st stitch, mark stitch, 1 Dc in the next 10 stitches, 1 Htr in the next 9 stitches, Tr2tog 4 times, 1 Htr in the next 9 stitches, 1 Dc in the last 11 stitches. 44 stitches.
Row 12: Ch 1, turn. 1 Dc in the 1st stitch, mark stitch, 1 Dc in the next 10 stitches, 1 Htr in the next stitches 7, Tr2tog 4 times, 1 Htr in the next 7 stitches, 1 Dc in the last 11 stitches. 40 stitches.
Row 13: Ch 1, turn. 1 Dc in the 1st stitch, mark stitch, 1 Dc in the next 9 stitches, 1 Htr in the next 6 stitches, Tr2tog 4 times, 1 Htr in the next 6 stitches, 1 Dc in the last 10 stitches. 36 stitches.
Row 14: Ch 1, turn. 1 Dc in the 1st stitch, mark stitch, 1 Dc in the next 8 stitches, 1 Htr in the next 5 stitches, Tr2tog 4 times, 1 Htr in the next 5 stitches, 1 Dc in the last 9 stitches. 32 stitches.
Row 15: Ch 2 , turn. 1 Htr in the 1st stitches, mark stitch, 1 Htr in each stitch across. 32 stitches.
Row 16: Ch 2, FPTr around the 1st Htr of previous row, BPTr around the next stitch *FPTr around next stitch, BPTr around next stitch*. Repeat across row. End with BPTr. 32 stitches
Row 17-18: Repeat row 16. Ch 1, leave a long tail and cut yarn.
FINISHING
With right sides facing, Sew up seam from the top of the slippers down to the sole and weave in ends.
FINISHED SLIPPERS

DISCLAIMER
All pictures and patterns on toyslabcreations.com is a property of Toyslab Creations. Please do not reprint, publish or post my patterns in whole or in part. Please don’t use my photos to advertise if you use my patterns to make and sell finished items.


