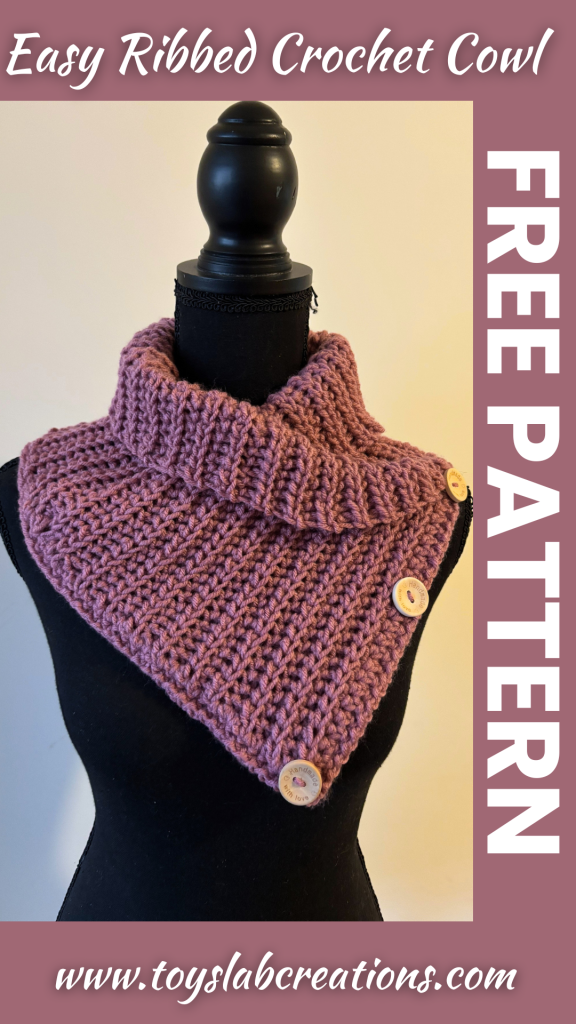
The everyday ribbed cowl is a beginner friendly and super cute crochet cowl made from a simple rectangle and two rows of edging and you have a cozy cowl in no time This easy ribbed crochet cowl works up fast and easy.
DESIGN
This ribbed crochet cowl pattern is made by crocheting a long rectangle, then folded to form a cowl, stitched into place and a beautiful edging to finish is cute cozy cowl.
FAST AND EASY
This easy crochet cowl uses mainly one stitch, the Yo-slst, it’s an easy stitch, making it a perfect project for beginners, it’s works up in no time and you have your cozy crochet cowl.
COZY
This ribbed crochet cowl has a ribbed detailing that makes its textured, coupled with aran weight yarn. This crochet cowl is keep your super warm.
YARN
I used aran weight yarn for this free crochet ribbed cowl pattern. You can use any aran weight yarn of your choice. You can use mixed coloured yarns as well. Like the one below.
Pics of two color one
SIZE
The everyday crochet cowl pattern has only one sizing option. It’s a one size fit most pattern. You can find the free written pattern below in this blog post.
Read on to find the free crochet cowl pattern below or find the ad-free printable PDF version on Ravelry, Love Crafts, Ko-fi and Etsy.
If you prefer to work with UK terms please scroll further down the page to view the UK version.
VIDEO TUTORIAL
If you prefer video tutorials, you can watch the video tutorial for the everyday ribbed crochet cowl pattern above.
Also watch more crochet video tutorials of my patterns on my YouTube channel. Subscribe and turn on notifications so you won’t miss any of my future videos. Happy crocheting!
PDF PATTERN
If you prefer to work offline or if you would like to support my work, purchase the ad-free printable pdf version, including all photo tutorials on Ravelry, Love Crafts Ko-fi and Etsy.
Purchase the Ad-Free Pattern

PIN it for later here
Save this pattern to your Ravelry favourite here
Check out these other free crochet patterns
US VERSION
EASY RIBBED CROCHET COWL | FREE PATTERN
Materials
Aran weight yarn -2 balls of 100g
6.5 mm crochet hook
Stitch markers
Scissors
3 * 25 mm Buttons
Stitch Guide (US Version)
Ch: Chain
Sc: Single Crochet
Yo-Slst: Yarn over Slip stitch: yarn over insert to hook into a specified stitch, yarn over pull through (three loops on your hook), pull the first loop on your hook through the remaining two loops to complete the stitch
BLO: Back loops only
Slst: Slip Stitch
* *: repeat the instructions between the asterisk
Gauge:
14 stitches /11 rows = 10 cm/4 inches in Yo-slst
Pattern note
• Ch 1 at the beginning of the row does not count as a stitch.
• This cowl is worked flat
Pattern Instructions
Ch 30
Row 1: Yo-slst into the second chain from the hook. Yo-slst in each stitch across. 29 stitches
Row 2: Ch 1, turn. Yo-slst in the blo of the first stitch and in each stitch across. 29 stitches.
Row 3- Row 86: Repeat row 2.
Folding
Count 24 rows from both ends on the longer side of the project (the side with tail end at the beginning of the project) and mark the 24th stitch from both ends. Fold the project such that the beginning and end of marked side are meeting at the centre, and both ends of the other longer side are meeting with the marked stitches (fold the beginning side first) Insert the stitch marker through both layers to keep them in place.
Edging
Round 1:
After folding as instructed, Starting from the last stitch on the 86th row, slst into the 2nd layer to join both layers together, Ch 1, Sc through both layers, you should have 26 Sc when you get to the pointed edge, and another 26 Sc through the second set of layers, make 38 Sc through the side of the remaining rows. Join round with a Slst to the first stitch. (90 Sc)
Round 2: Ch 1, mark stitch, turn. Slst in the next stitch *Ch 1, Slst in the next stitch* repeat around. (repeat the instructions in the asterisks thrice at the corner) Finish the round with a slst in the last stitch, Ch 1, Slst into the Ch 1 at the beginning of the round. Ch 1 and cut yarn.
Finishing
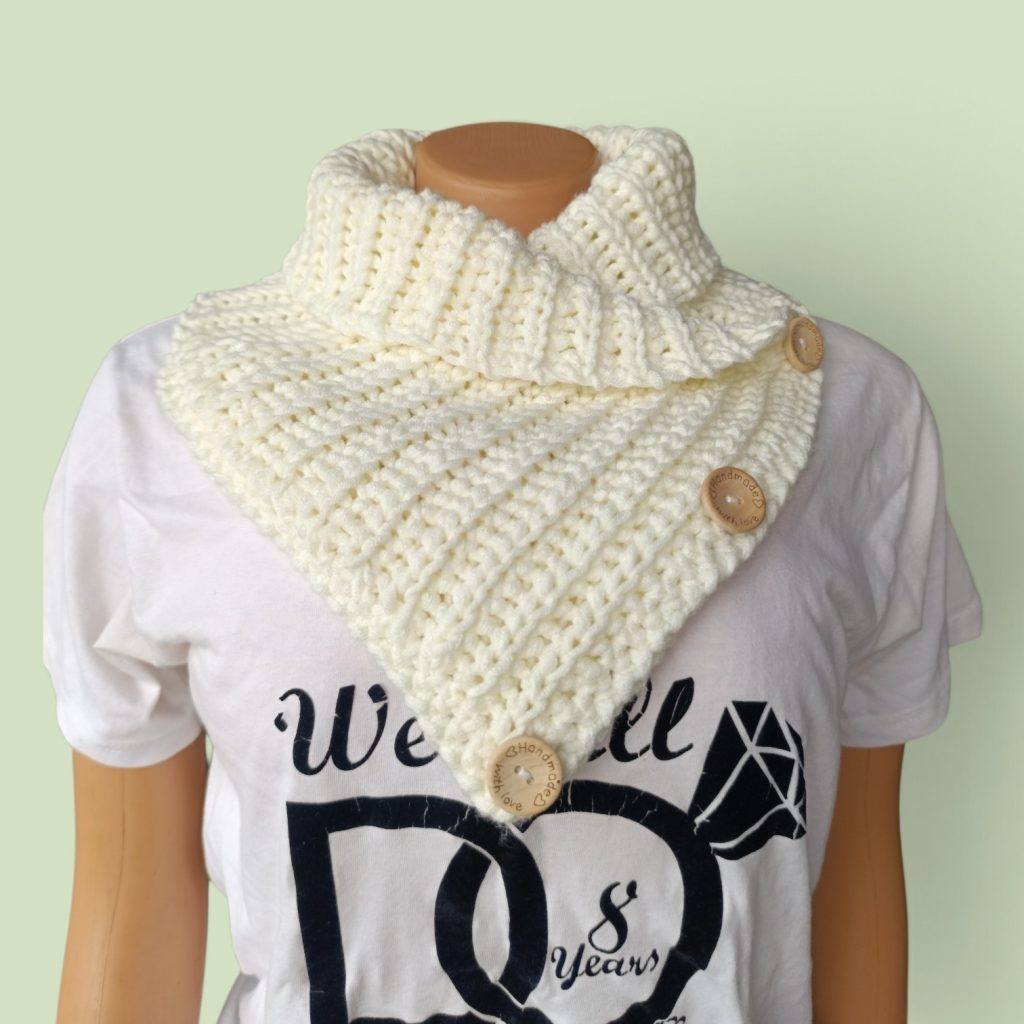
Attach the buttons at the pointed tip, and the top and in the middle. This is optional as it is decorative.
Weave in all ends
Finished Project
UK VERSION
EASY RIBBED CROCHET COWL | FREE PATTERN
Materials
Aran weight yarn -2 balls of 100g
6.5 mm crochet hook
Stitch markers
Scissors
3 * 25 mm Buttons
Stitch Guide (UK Version)
Ch: Chain
Dc: Double Crochet
Yo-SS: Yarn over Slip stitch: yarn over insert to hook into a specified stitch, yarn over pull through (three loops on your hook), pull the first loop on your hook through the remaining two loops to complete the stitch
BLO: Back loops only
SS: Slip Stitch
* *: repeat the instructions between the asterisk
Gauge:
14 stitches /11 rows = 10 cm/4 inches in Yo-SS
Pattern note
• Ch 1 at the beginning of the row does not count as a stitch.
• This cowl is worked flat
Pattern Instructions
Ch 30
Row 1: Yo-SS into the second chain from the hook. Yo-SS in each stitch across. 29 stitches
Row 2: Ch 1, turn. Yo-SS in the blo of the first stitch and in each stitch across. 29 stitches.
Row 3- Row 86: Repeat row 2.
Folding
Count 24 rows from both ends on the longer side of the project (the side with tail end at the beginning of the project) and mark the 24th stitch from both ends. Fold the project such that the beginning and end of marked side are meeting at the centre, and both ends of the other longer side are meeting with the marked stitches (fold the beginning side first) Insert the stitch marker through both layers to keep them in place.
Edging
Round 1:
After folding as instructed, Starting from the last stitch on the 86th row, SS into the 2nd layer to join both layers together, Ch 1, Dc through both layers, you should have 26 Dc when you get to the pointed edge, and another 26 Dc through the second set of layers, make 38 Dc through the side of the remaining rows. Join round with a SS to the first stitch. (90 Dc)
Round 2: Ch 1, mark stitch, turn. SS in the next stitch *Ch 1, SS in the next stitch* repeat around. (repeat the instructions in the asterisks thrice at the corner) Finish the round with a SS in the last stitch, Ch 1, SS into the Ch 1 at the beginning of the round. Ch 1 and cut yarn.
Finishing
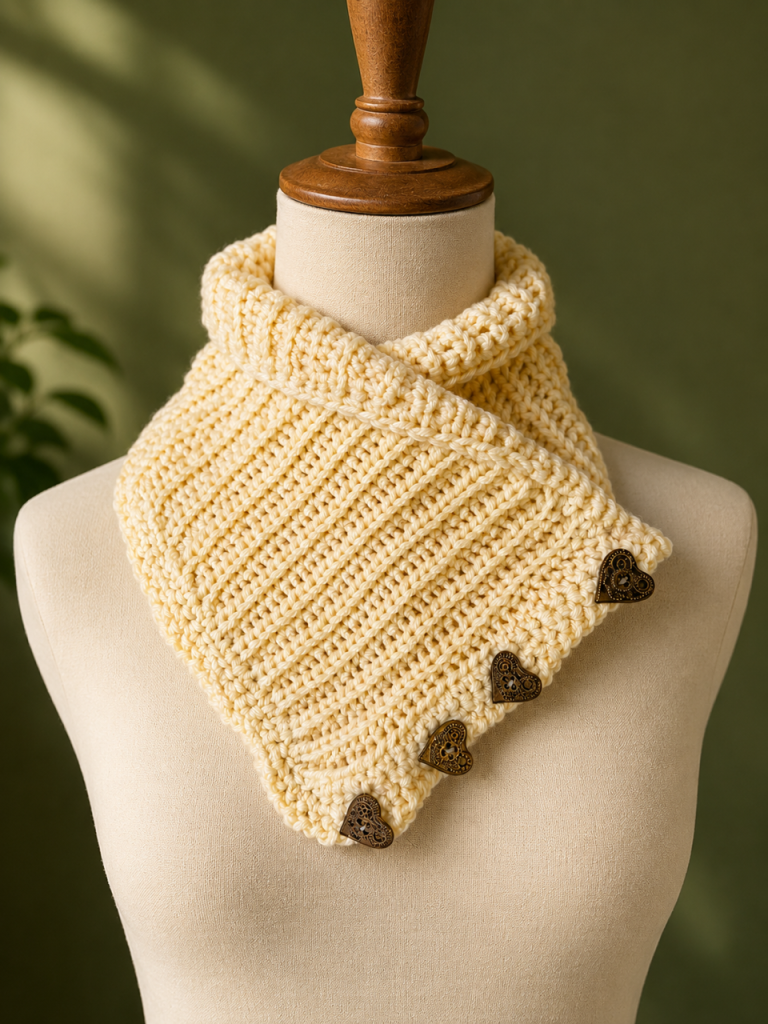
Attach the buttons at the pointed tip, and the top and in the middle. This is optional as it is decorative.
Weave in all ends
Finished Project
Disclaimer
All patterns and pictures on this Website is a property of Toyslab Creations. Please do not reprint, publish or post my patterns in whole or in part. Please don’t use my photos to advertise if you use my patterns to make and sell finished items.
Connect with me on Social Media